

How To Create A Lino Print
Linocut is an old school printmaking method that involves carving and stamping a custom illustration. Learn how to create your own linocut print in this tutorial.
Linocut, a traditional printmaking technique, came into play in the early 20th century. You may have heard of woodcut prints, where designs are carved into a piece of wood. Linocut uses linoleum, like the floor covering used in many older homes. This method of relief printing is much more versatile than woodcut, and the material is much easier to carve into.
To create a linocut print, you carve the outlines of an illustration into a linoleum block using sharp knives and carving tools. Then you ink it with a brayer and press it onto a piece of paper. Essentially, it's a method of printmaking that allows you to create custom stamps to use over and over again.
Check out the video below to see how simple it is to create a linocut print. Keep reading to get a breakdown of the full technique.
While the process of creating a real linocut print takes some time, the unique results are worth it. The process yields completely original works with organic textures – two qualities that modern designers are always after in the world of digital design. While you can always manipulate vectors and apply textures to designs using software, nothing compares to the original. Plus, carving out the linoleum is #oddlysatisfying.
Materials You Need for Linocut Prints
The art of block printing, or linocut, requires quite a few materials to get started. All of the supplies listed are essential to making a high quality lino print. It's a long list, but most of these materials will last you well into your linocut career.
- Linoleum block
- Carving tools
- Printmaking paper
- Brayer
- Baren
- X-acto knife or box cutter
- Washable relief inks
- Translucent tracing paper
- Sketching pencil
- Washable surface to roll ink onto
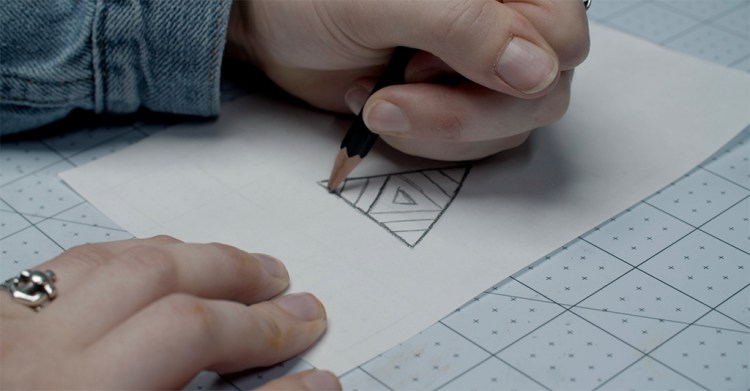
Step 1: Sketch Design on Tracing Paper
Before you dive into carving, you first need to plan your illustration. If you're new to this, I recommend starting out with simple shapes or patterns. The more detail in your composition, the more you will have to carve out. Sketch a few options in a notebook, then draw your final version on tracing paper.
Step 2: Transfer Design on Linoleum
Once you've finalized the design, flip the tracing paper over, place it on the linoleum block, and trace the shape in the same spot on the other side. Doing this will transfer the sketch onto the linoleum. This method is preferable to drawing directly onto the linoleum because you can easily erase the light pencil marks.
This step is important, especially if you're working with typography or complicated illustrations. Remember that while your design is flipped on the linoleum, it will be mirrored once you stamp it.

Step 3: Carve Out Design
This step is the most time-intensive, but don't try to rush the carving process. If you're new to carving, get a hang of your carving tools by practicing on a blank piece of linoleum. You'll notice that the more pressure you apply, the deeper the carve becomes. Think of how you want your illustration to appear on paper; any areas that you carve away will not show up when stamped.
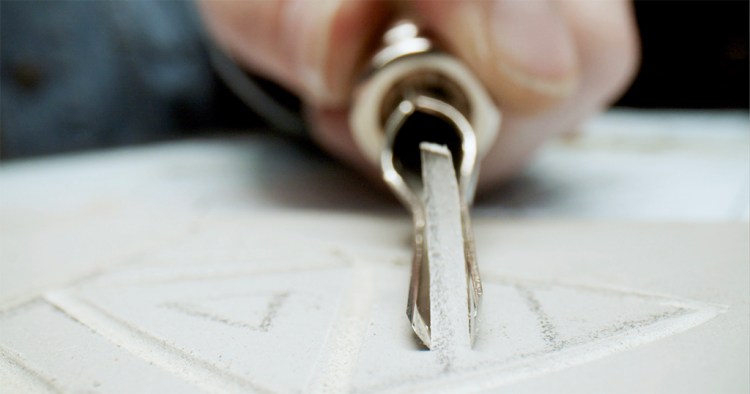
Start by using a V-shape carving tool. The V-shaped tool will create more precise cuts than a U-shaped carving piece. Make shallow cuts first, then go back over with deeper cuts. Continue until all areas outside of your illustration are carved. Be careful when carving, and always carve away from your body – these tools are sharp.
Step 4: Remove Excess Linoleum
After carving your linoleum, cut away any excess areas with an X-acto knife or box cutter. For smaller illustrations like my geometric triangle, you can cut out the shape from the block. If you're using the entire piece of linoleum, just keep carving away the remaining portions.
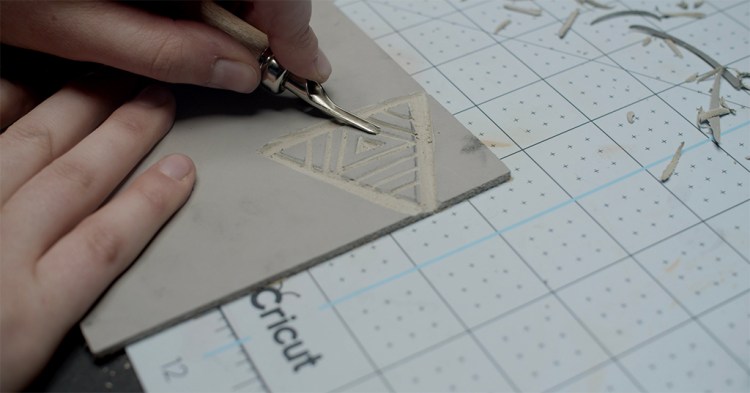
Linoleum can be tough to carve, so go back over your cuts multiple times or flip the linoleum over and make a perforation on the other side.
Step 5: Prepare Relief Ink
Using a spare piece of plastic or other washable surface, squeeze out the relief ink and use the brayer to roll the ink into an even, flat layer. Too much ink on the brayer and it will bleed onto the carved out areas; too little ink and the linocut will not stamp accurately.

Once you've achieved a fine layer of ink, roll the brayer onto the linoleum. Make sure to apply the ink onto all of the raised surfaces.
Step 6: Apply Stamp to Paper
After applying the ink onto the linoleum, quickly apply it to the printmaking paper. If you're working with a small design, simply press the linoleum onto the paper, then push the baren on top to ensure the ink transfers completely. If you're working with a larger illustration, place the inked linoleum face up, then apply the paper on top. Use the baren to smooth out the paper onto the carved illustration.
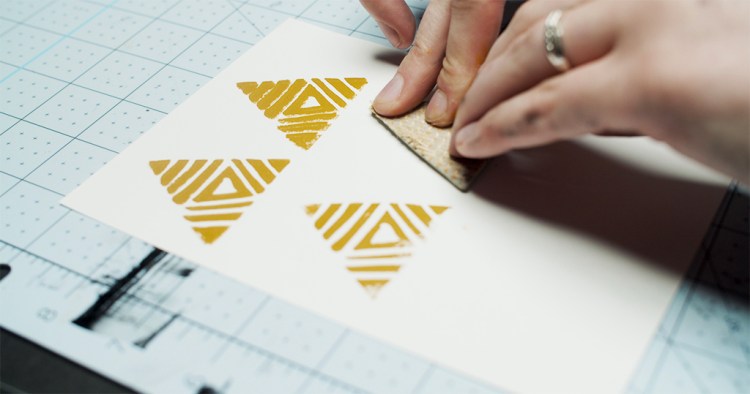
Avoid pushing the stamp around when you do this; any movement of the linoleum will smear the print. The application may take a few tries to perfect, so don't worry if there are small mistakes along the way. Smudges, fingerprints, and excess ink lines will happen. After all, the beauty of linocut lies in the imperfections and organic texture.

Bonus: Get FREE Linocut Prints for Your Designs
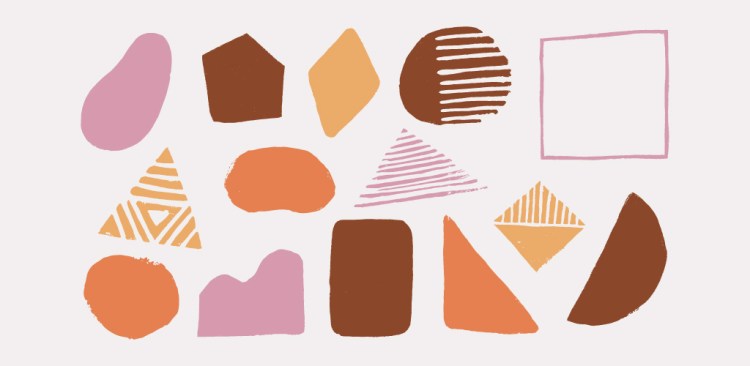
You're probably eager to get started with linocut. Luckily, we have free lincocut prints for anyone who doesn't have the time to carve and stamp their own. Featuring the triangles you see above, plus more organic shapes, these prints have the perfect rough hewed lino texture for your digital designs.
Want more crafty design tutorials? Check these out below:
- Video Tutorial: How to Make Stickers Using the Cricut Machine
- DIY Marbling: How to Make Luxe Marble Textures with Household Items
- Beyond Vinyl: What Is the Cricut Maker and What Can It Do?
Interested in the tracks we used to make this video?
- "Hey Hey!" by Soulish
- "Resonating Waves" by Evan Macdonald
- "The Prophet" by Origami Pigeon
How To Create A Lino Print
Source: https://www.shutterstock.com/blog/video-tutorial-diy-linocut-printing
Posted by: ludlumtrabut.blogspot.com
0 Response to "How To Create A Lino Print"
Post a Comment